Previously. Designing a huge case: Designing The Pentagon Case
So after the shape design came the surface design.
For me the theme of the case was following: On the outside: Futurist, Space Probe, on the inside: Industrial. Former was chosen, later came just naturally into being trough the used parts. It was a nice combination nevertheless.
There were several things left to do before painting could begin. A design needed to be chosen/created and the right techniques needed to be researched.
Some nice German site had quite extensive information on the matter. A primer and some roughening up would be needed in order to prepare the zinc surface for painting.

Concerning design. Me, being obsessed with geometric shapes, have themed this build around the shape of a Pentagon. The paint scheme should follow that, harsh geometric shapes. I like bright colours so maybe I could throw some of those in. The work of Simon Stalenhag came to mind here and was a great inspiration. I also asked some friends over at the I-Novae site if they had some ideas.
Considering all options and after some additional brainstorming I decided on a futuristic, clean look. With a clean white and an orange colour for accents.
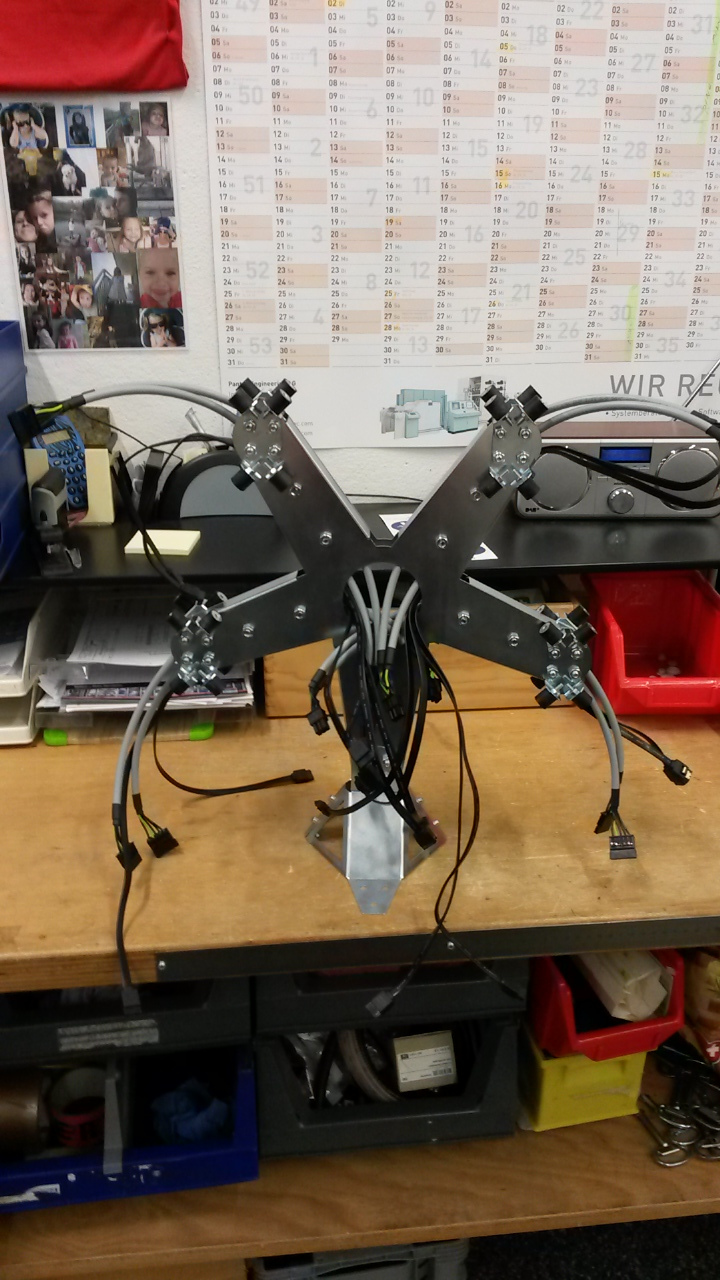
First, to check if nothing was majorly borked, I loosely assembled the most important sheet metal parts. Everything looked alright so I went ahead with painting.
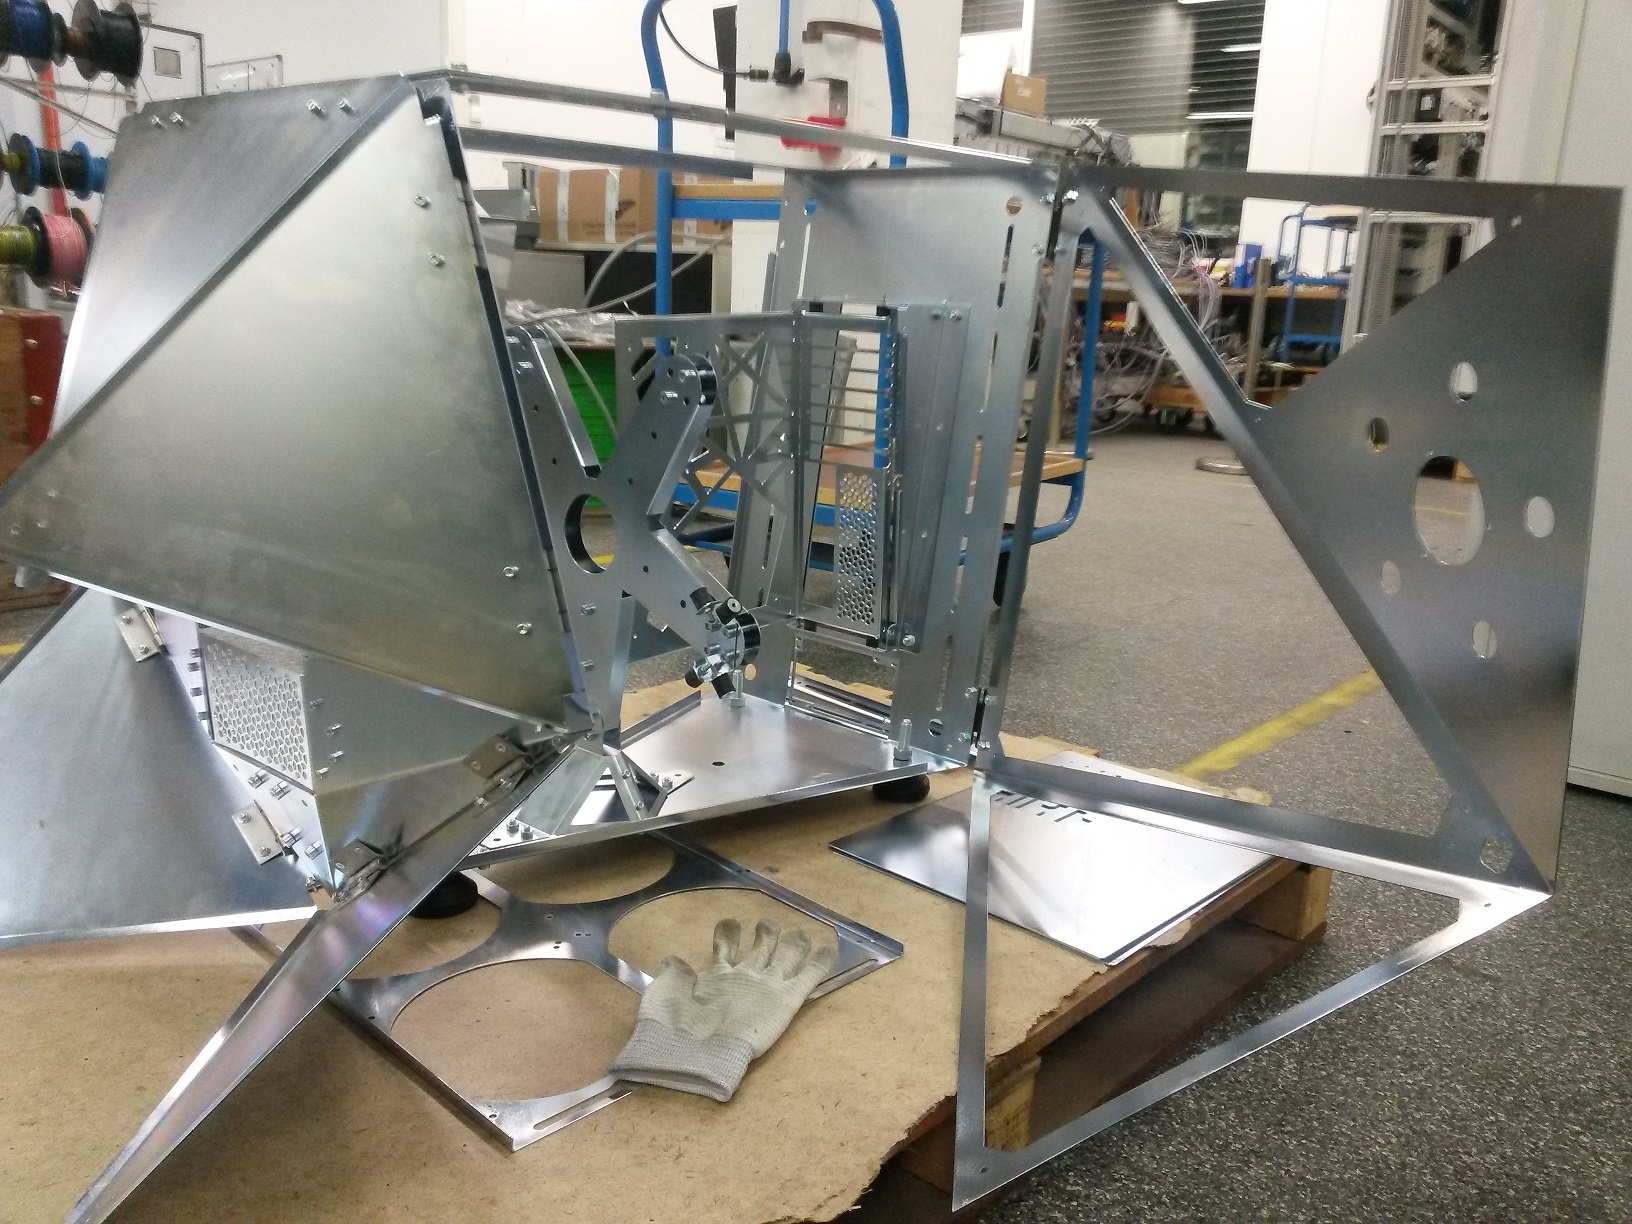
I decided to only paint the outside surfaces of the case. This would not only save on time and resources but also go along the way of reinforcing the target aesthetic. Painting was done with spray cans.
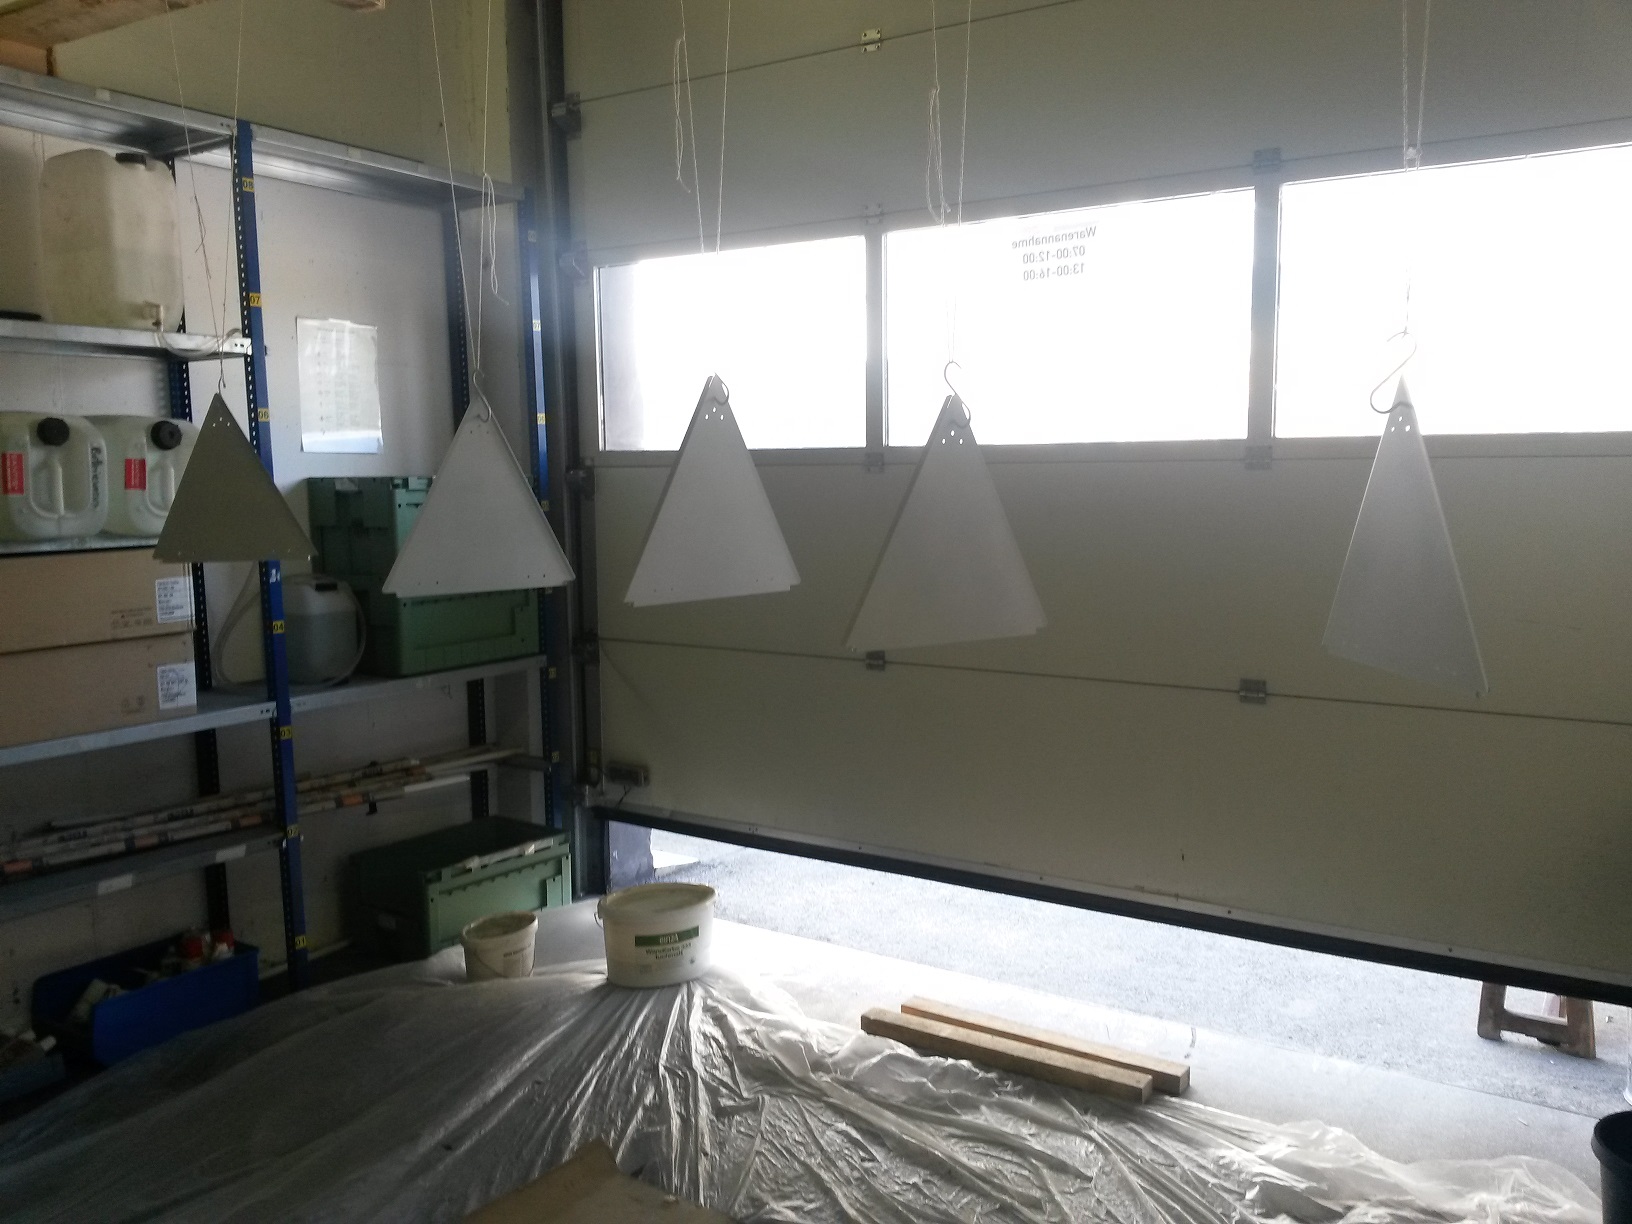
After preparing the sheet metals, the painting space and masking I layered on the white.

Then after it dryed and some more masking the orange.
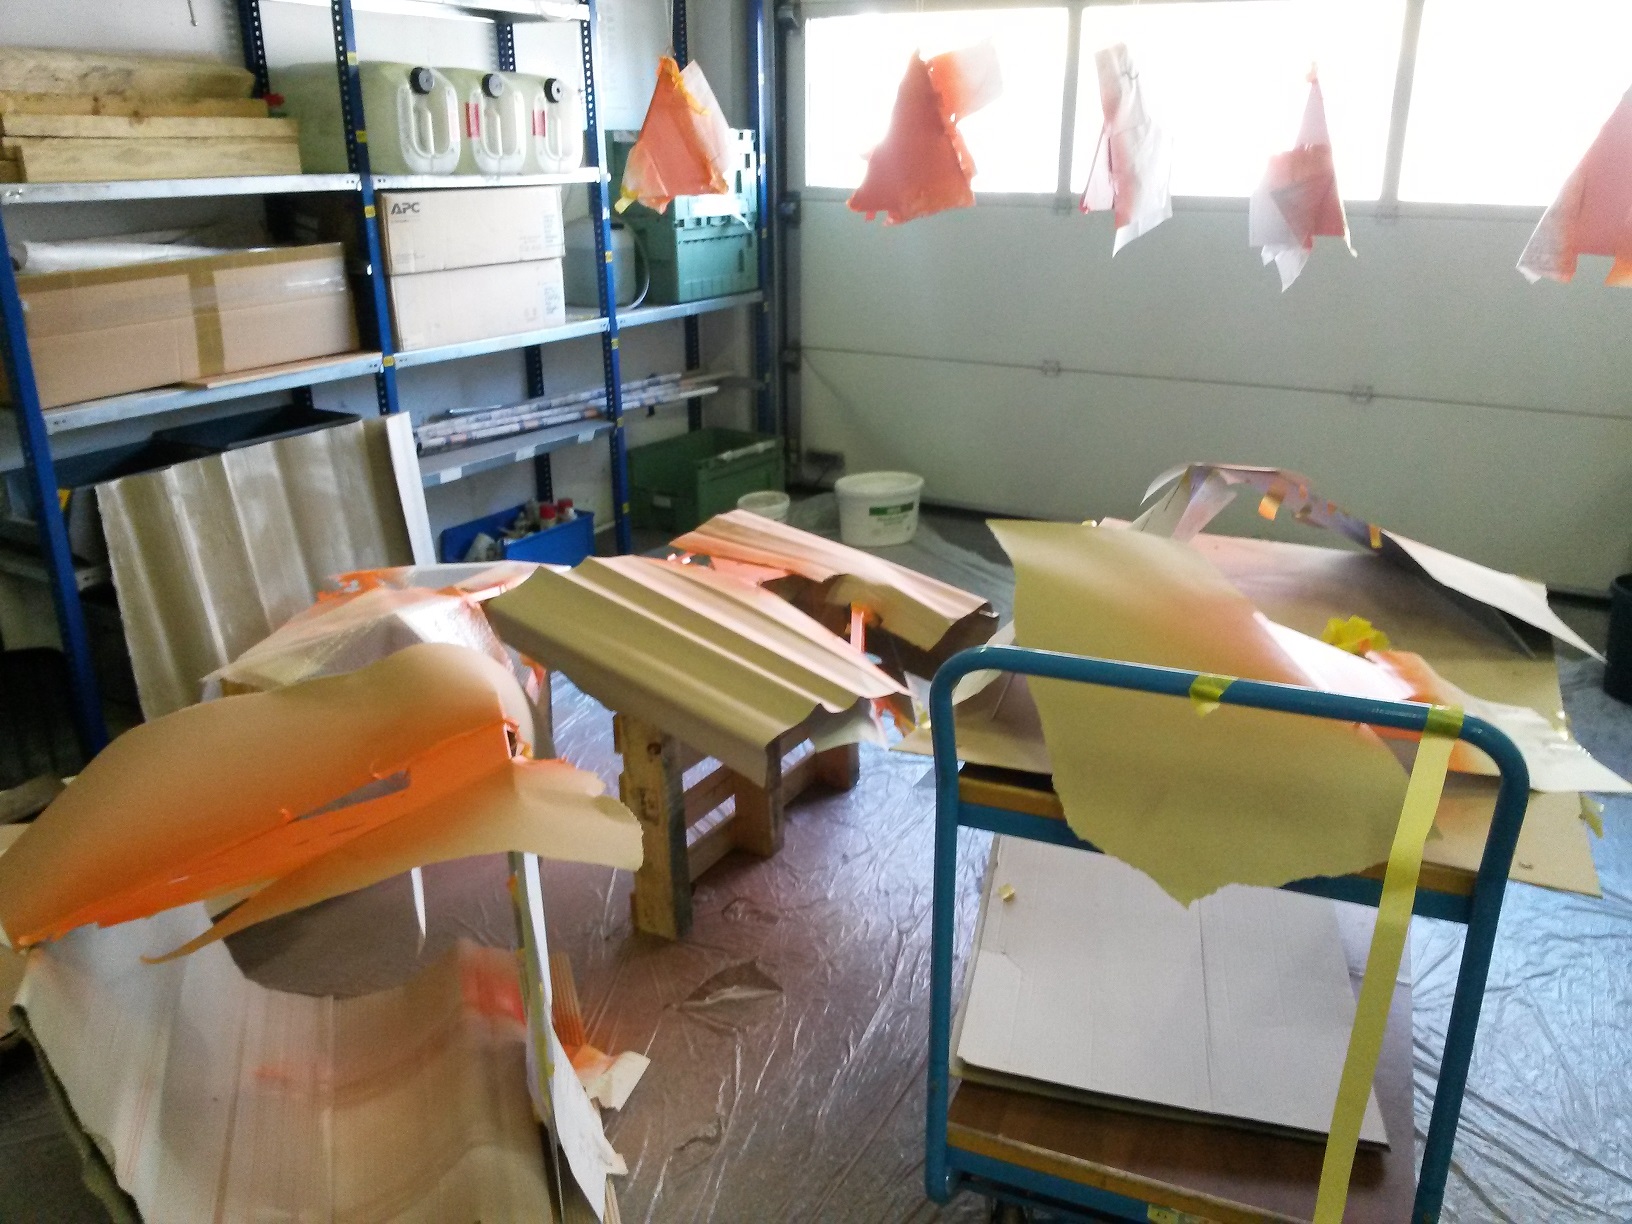
I also clearcoated the holesheets as they were made of steel without any surface treatment to prevent any future rust.
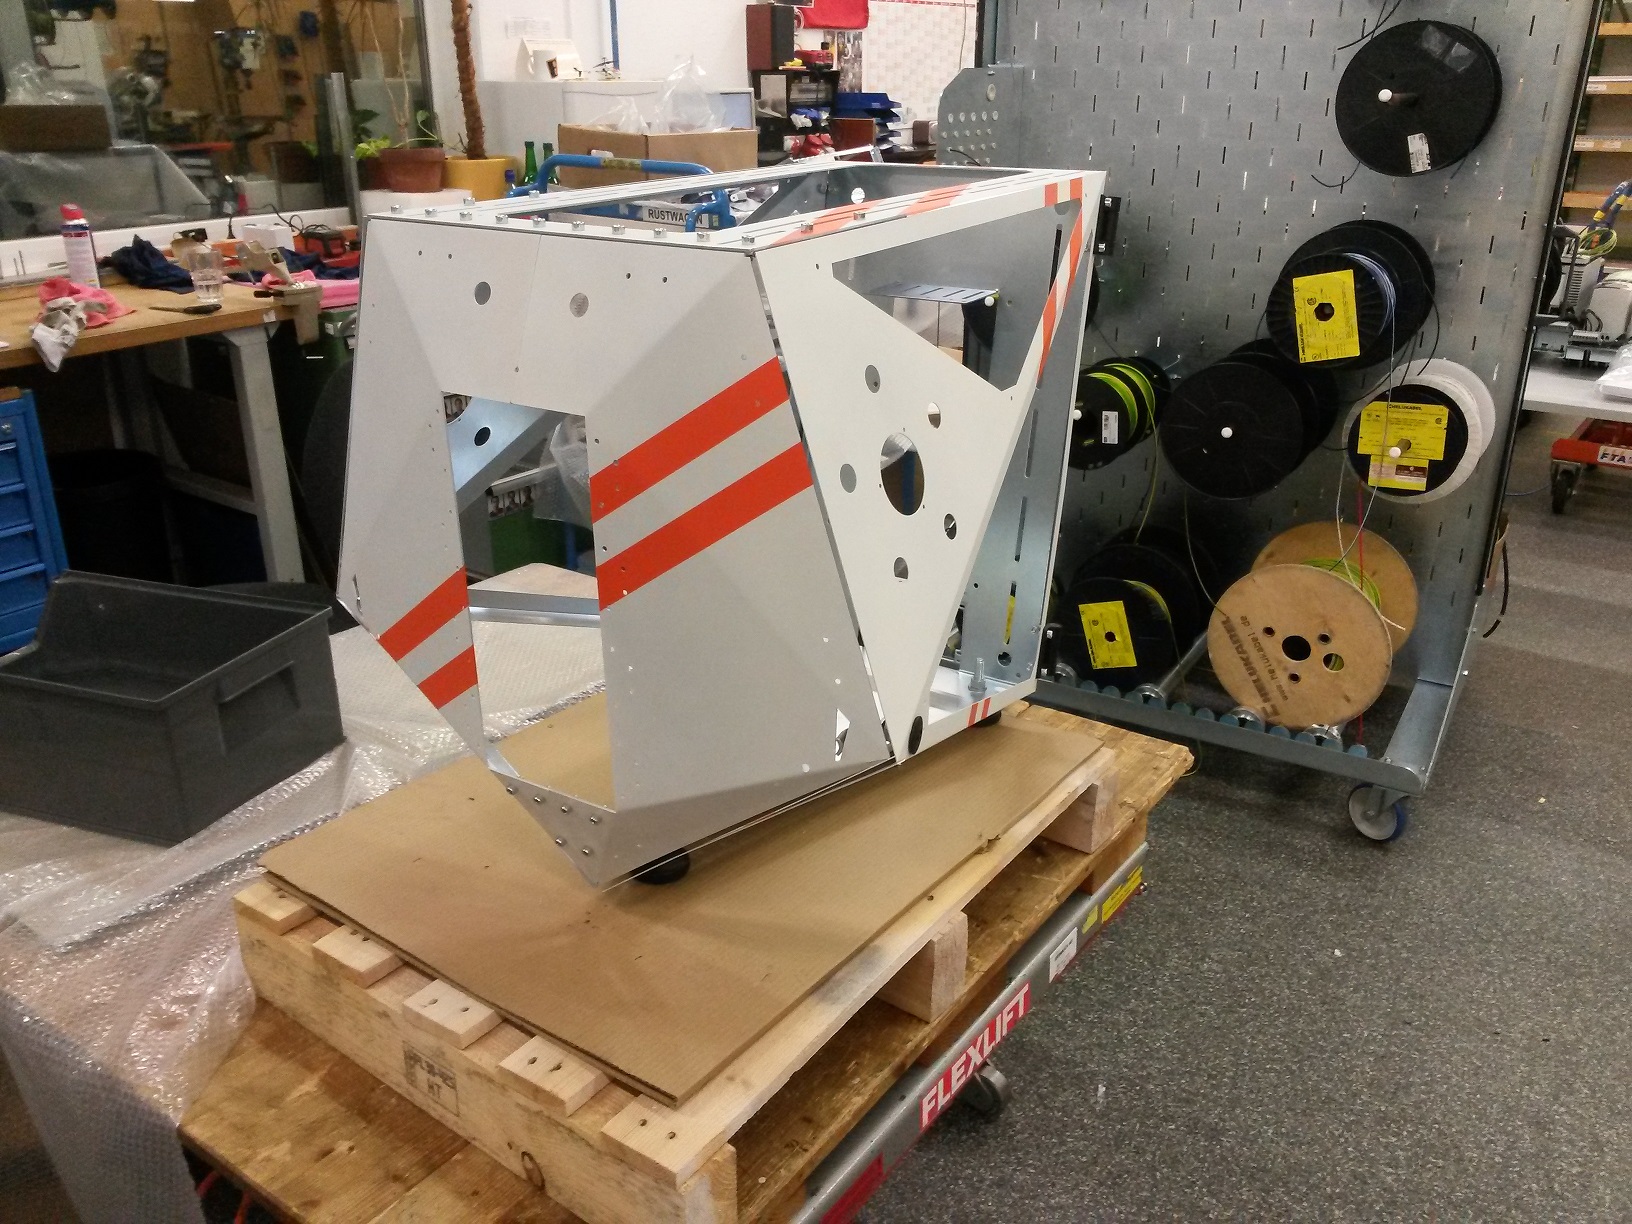
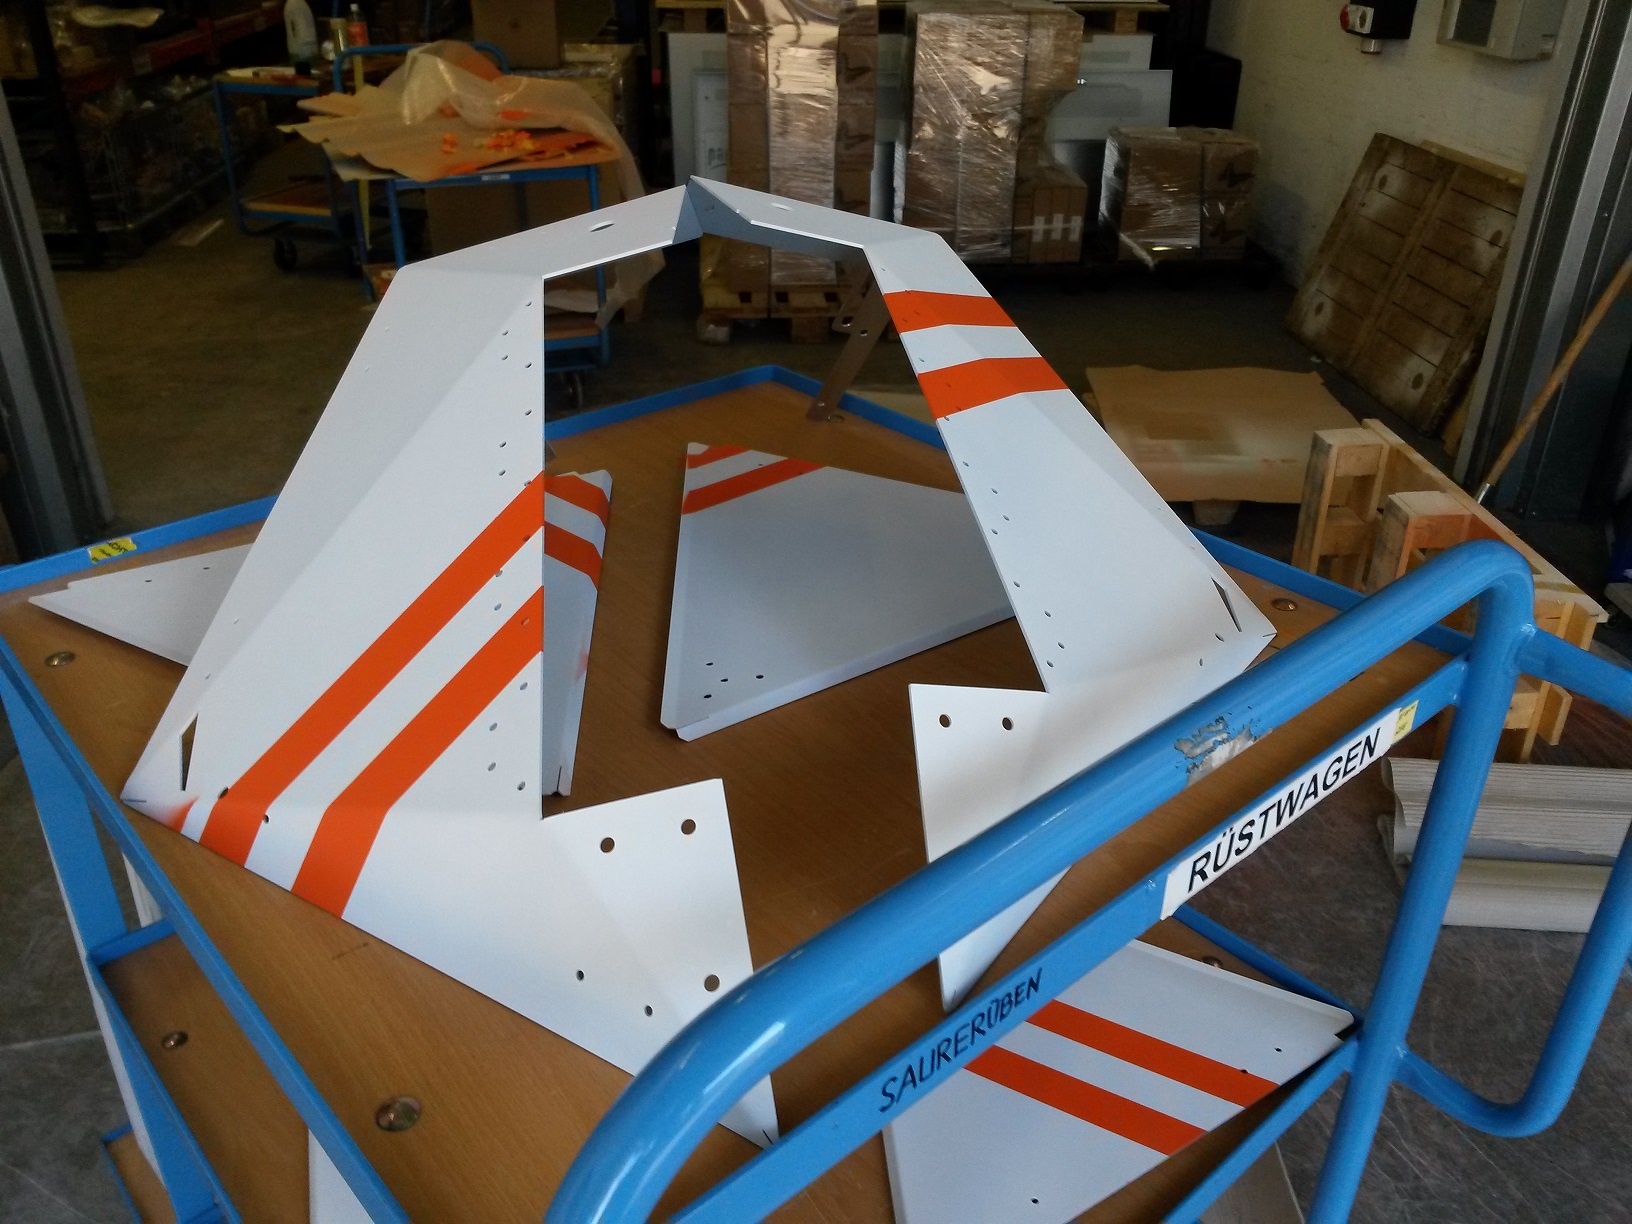
The end result did quite please me. Some paint go where it shouldn't have so I later on did another pass on those parts to eliminate that.
The deadline for the application to the German Casemodding Championship (DCMM) came quite close. So I rushed to barebones assemble the case in order to hand in the application. Fingers crossed it did went trough.
Here's what it looked like at that stage:
The Pentagon / DCMM Application State
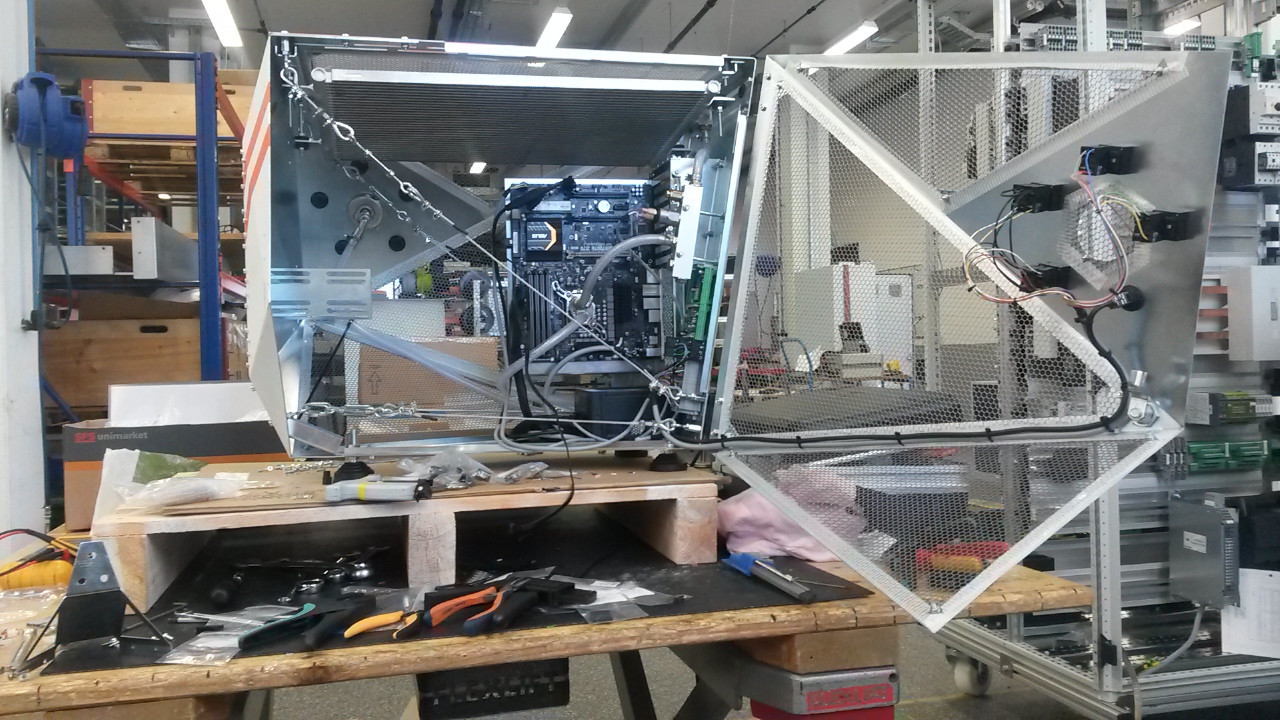
At this stage I also was able to test the cooling system for the first time ... and lo and behold it worked!
https://www.youtube.com/watch?v=w2dGNsMsNPc
After completing the barebones assembly I noticed how unstable the case was. Primarily due how flexible and large the sheet metal is. What was needed is some additional way to stiffen the form. I went to the local hardware store and got myself some parts that are usually used in railing construction. Some pieces of metal-cord and -rings later and the case was in much better shape. I used the same material to fix the front panels together once I noticed how my original plan to transfer force with tiny universal joints didn't work out.
Next up was adding the last sheet metal parts and then wiring the thing up.
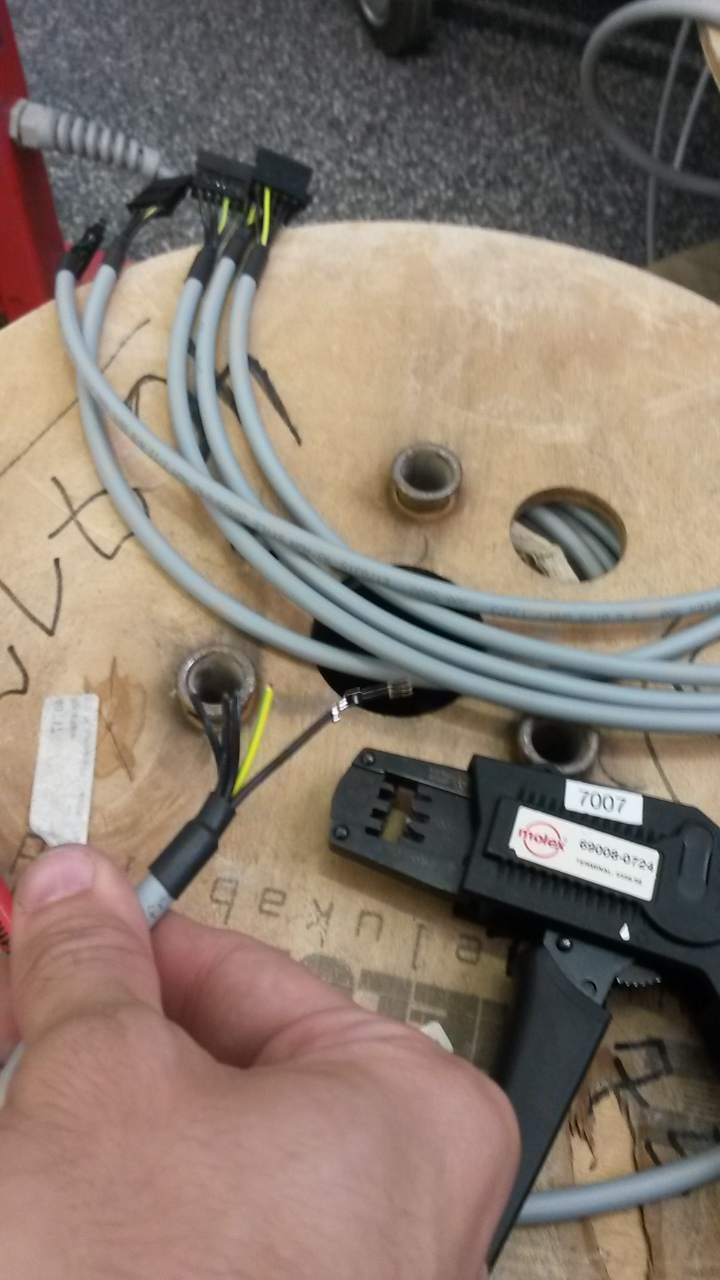
I chose to use industrial cables instead of the commonly used single insulated sleeved laces. It was much more fitting and also quite appealing. I really wonder why so few case builders go that route. Finishing up cables was part of my apprenticeship so it went quite smoothly except that I was missing an extractor tool. I made one or two mistakes plugging the cables in and had to improvise a tool out of pieces of thin metal ... it worked, barely. Once that was done I incorporated the cables into the case and connected most things up. The industrial theme continued when it came to buttons as well as terminals.
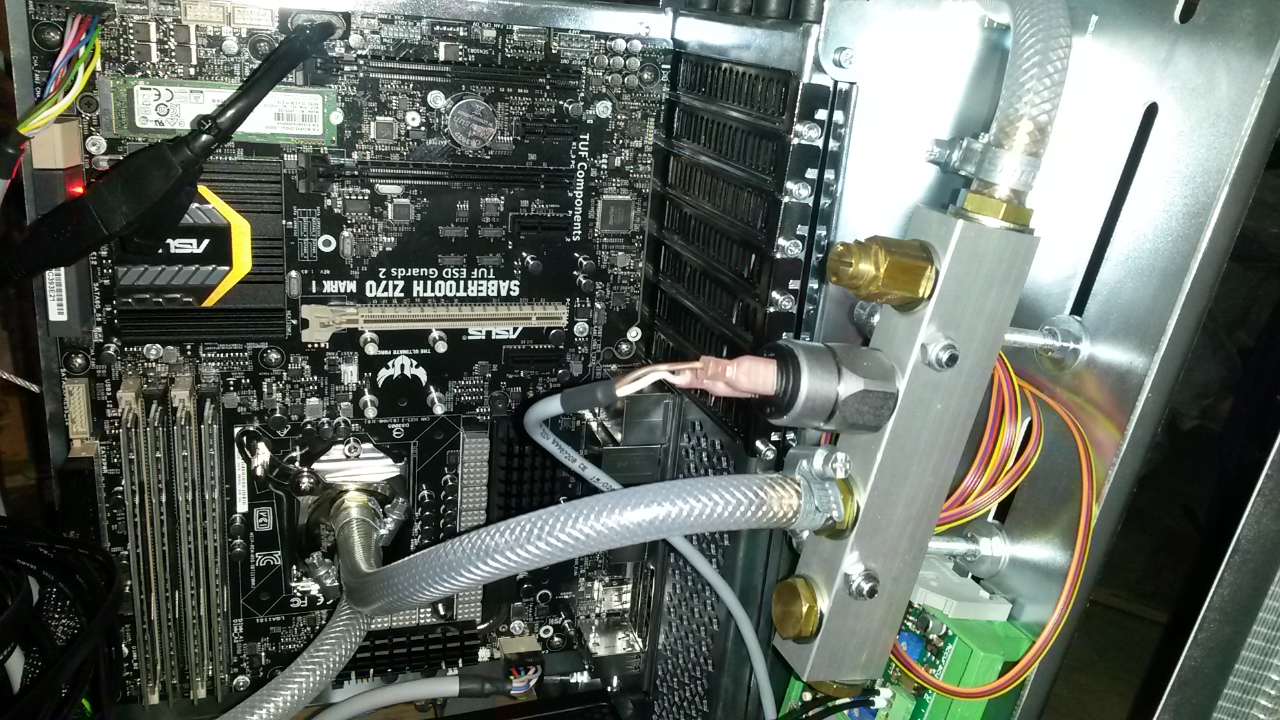
While we are at wiring. I installed two safeties into the cooling system. One was a simple vent that would open once the pressure reached extreme critical levels. The other was a normally closed pressure switch. I connected that switch in line to the "enable" wire that goes from the mainboard to the power supply and is used to fully switch on the power supply. If a set pressure is reached the system switches of, thus not adding any more heat to the cooling system and preventing the pressure from rising.
What was also not yet installed was the controller for the linear motor. I used two circuit boards for that. The motor controller from the supplier which had potentiometers on it to set the optimal limits and speed and an arduino board I used to send an analog signal for the target position. Two switches at the side of the case controlled the behavior. One switch turned off led lights of the switch and also activated a mode that would open and close the front panel for demonstrative purposes. The other allowed for direct control of the target position of the motor or timing set control for the demo mode.
It was quite the sprint in the end but with a lot of last minute time put in and quite some help from friends, family and colleagues I managed to finish the project in time.
Next. Displaying my creation to the world at DCMM 2016